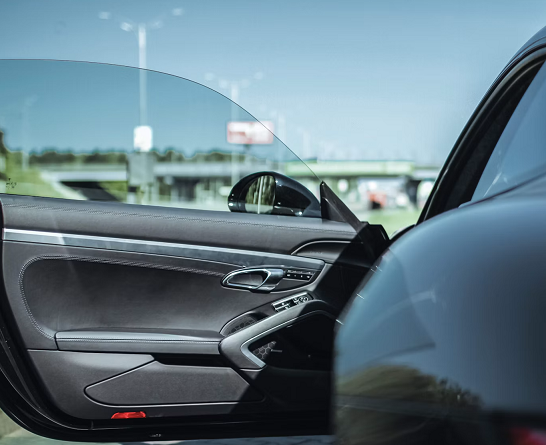
Most of the work in replacing a door window happens where nobody can see it. The glass is only the visible part. Behind the trim panel sits a small mechanism of tracks, seals and fixings, and the job is largely about getting to it, fitting the new pane correctly and putting everything back as it was.
When a door window is damaged, the next step is usually a door window replacement, and knowing the sequence makes it easier to understand what a technician is doing and why it takes the time it does.
Opening the Door Up
The first stage is getting the door trim off. A general repair guide published by the mechanic advice site YourMechanic starts by prising off the small plastic panels, which usually sit at the top corners of the door panel. Taking those off reveals screws that need to be removed, and there may be others hidden along the sides and bottom of the door.
Next come the controls. On a manual window there is typically a single screw holding the winder in place, while on a power window the switch is unscrewed and its connector unplugged. Some doors also require the door handle to be released from its linkage. Once everything is free, the panel generally lifts up and away from the door, although the same guide cautions that too much force can break the plastic tabs on some models.
Clearing Out the Old Glass
With the panel off, a lining that acts as insulation, described as an air barrier, is peeled back out of the way to expose the inside of the door. The window then needs to be lowered, because the nuts holding the glass to the regulator sit behind it. These are unscrewed to free the pane.
What follows depends on the damage. If the glass has shattered, there may be only one or two small pieces still attached to the window regulator, and the loose fragments inside the door have to be vacuumed out. If the glass is intact, it can be lifted up and out through the door, after the inner seal at the bottom of the window has been removed.
Fitting the New Glass
The replacement pane needs to match the vehicle’s specifications, which is why a technician will want to confirm the make, model and window position before starting. It is angled into the track, facing slightly downward, and lowered into place. The guide notes that too much force can shatter a brand new window, and that the glass should be held until it is secured.
The mounting holes in the glass are then lined up with the regulator, and the screws are tightened until snug, not overtight. If a bottom track bolt was loosened to give the track some movement, it is tightened again afterwards, since the track will not hold the window securely otherwise. These details are small, but each one affects how the window sits and moves.
Testing Before It Is Closed Up
One sensible step comes before the door is reassembled. The window is run up and down to confirm that it moves as it should while everything is still accessible. After that, the inner seal is refitted first, because it sits under the door panel. The air barrier goes back, and if its adhesive no longer sticks, glue or double-sided tape can hold it in place. The panel is lined up with its top slots and dropped into them, the screws are replaced, and any handle linkage or switch is reconnected. A final test of the door’s other functions confirms that everything has been put back correctly.
What This Means When Booking
Seeing the sequence laid out suggests a few practical questions. Which window is being replaced, and what glass is specified for that position? Will the work include checking the regulator if it needs attention? Is the job done at a workshop, or can it be carried out where the vehicle is? What guarantees apply to the workmanship and the parts?


